CAMERA

TOUCH

LASER

ROTATION
EXAMPLE OF MEASUREMENT
Try our optical machines yourself when measuring your parts. For a quick idea, take a look at the short video.
WHY TO CHOOSE MICRO-VU
Fast measurement, simple operation and high durability all in one.
- Complex 3D measurements
- Work with 3D model
- Fast and safe
- Different sensors in one
- Suitable for production and laboratory
- For all types of materials
- Easy control software
- Free software updates
WHERE THEY ARE USED
Micro-Vu 3D measuring machines can be used in almost any field.
 Aerospace
 Arms
Arms Automotive
 Electronics
 Energetics
 Engineering
 Food industry
 Glassmaking
 Robotics
 Medicine
 Plastics
 Entry inspection
CHOOSE MACHINE
We are ready to guide you through the complex process of choosing a 3D measuring machine, including installation, training and maintenance.
The selection of a machine always follows the next 4 steps:
-
defining what you expect from the machine,
-
consultation of a possible solution,
-
demonstration of solutions directly on your parts for free,
-
comprehensive offer of suitable machine.
WHAT MODELS WE OFFER
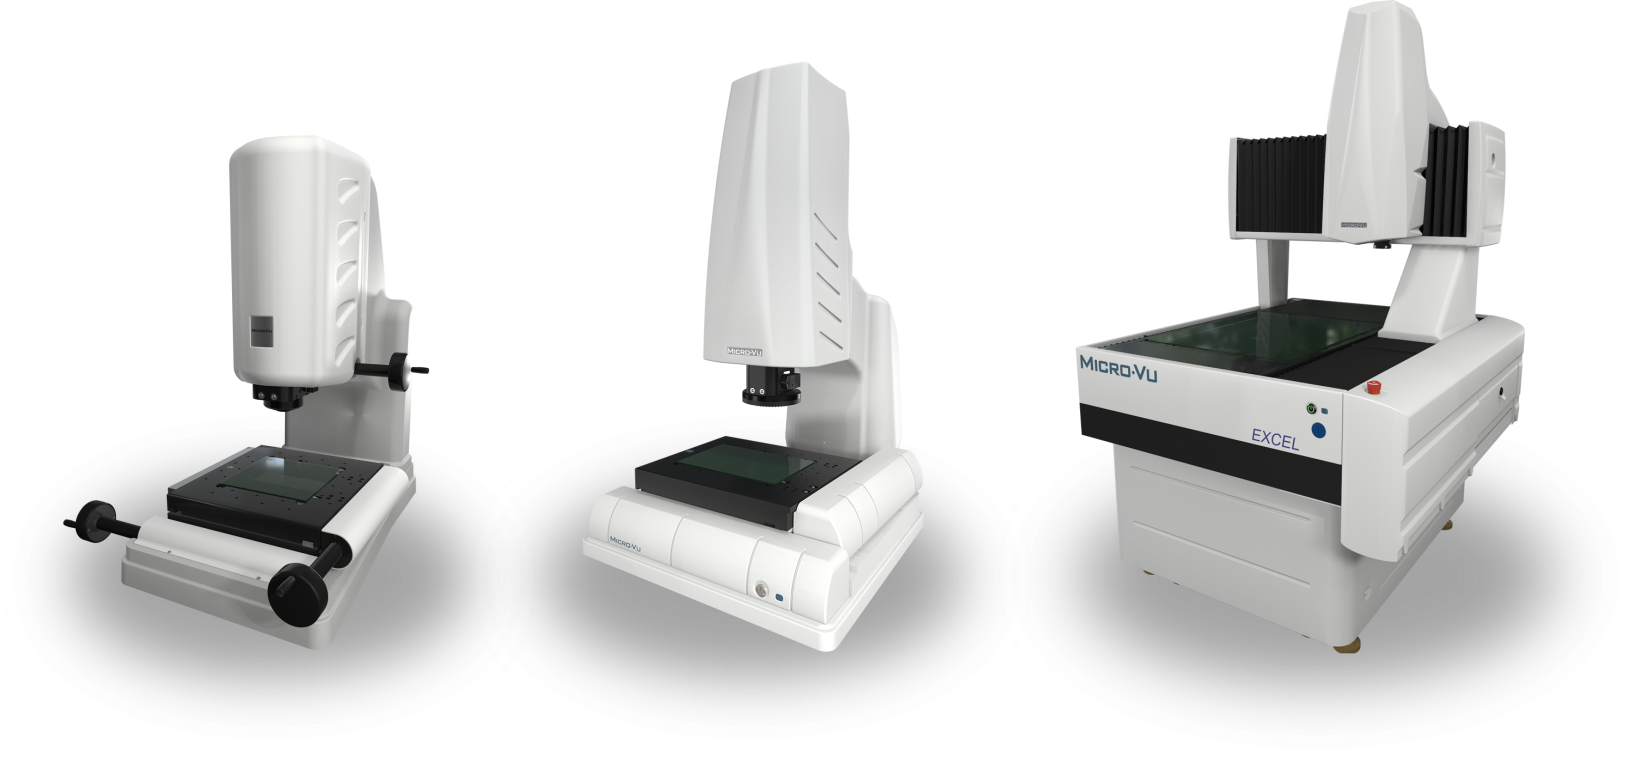
There are the following models of 3D optical measuring machines: automatic desktop, automatic gantry, manual desktop.
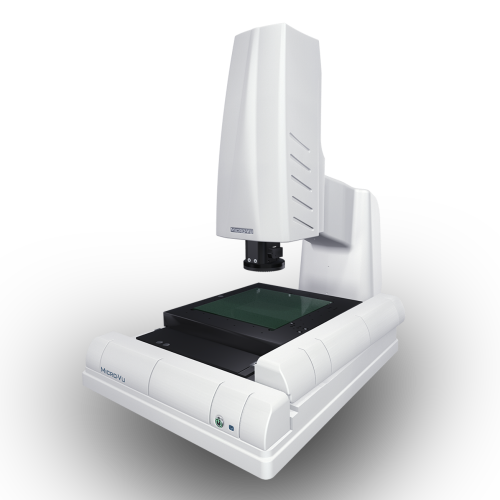
VERTEX
| Construction | table |
| Drive | automatic |
| Measuring range XY | 160 – 315 mm |
| Measuring range Z | 160 – 250 mm |
| Accuracy XYZ | 2,2 + L/190 μm |
| Max. load | 20 kg |
EXCEL
| Construction | gantry |
| Drive | automatic |
| Measuring range XY | 420 – 2560 mm |
| Measuring range Z | 160 – 400 mm |
| Accuracy XYZ | 2,7 + L/200 μm |
| Max. load | 100 kg |

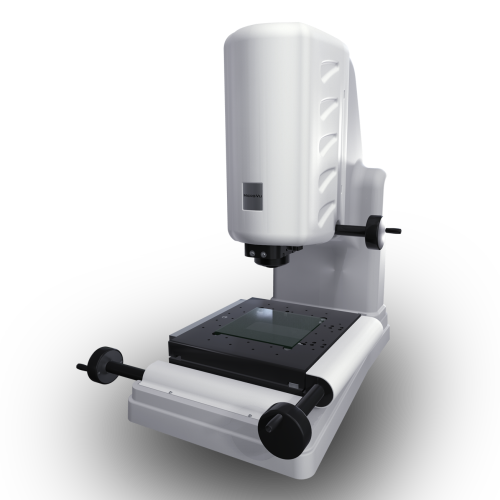
SOL
| Construction | table |
| Drive | manual |
| Measuring range XY | 160 – 315 mm |
| Measuring range Z | 160 – 250 mm |
| Accuracy XYZ | 3,6 + L/190 μm |
| Max. load | 11 kg |
HOW YOU CAN EXPAND THEM
For greater efficiency, Micro-Vu 3D measuring machines can be expanded with additional sensors at any time. The great advantage is that all sensors are controlled from one software, which ensures easy and comprehensive measurements.
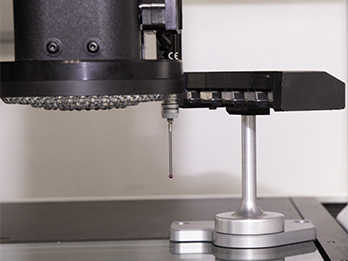
TOUCH PROBE
- Rack for 6 probes
- Measuring the part for one clamping
- Automatically generate touch points
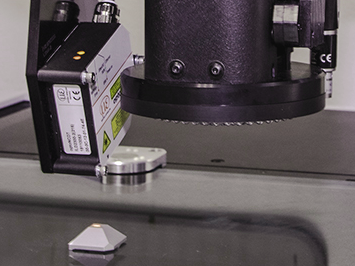
LASER
- Fast scanning of general surfaces
- Scanning glossy and matte surfaces
- Color display of the captured points
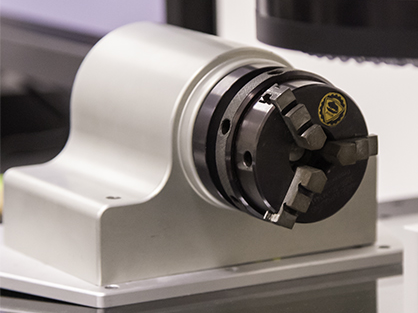
ROTATION
- Positioning the measured part
- Vertical and horizontal clamping
- Automatic positioning in the program
WHAT SOFTWARE DO WE USE
You control the instrument and measurements using InSpec 3D software, which is common to all Micro-Vu 3D optical measuring machines. This ensures full compatibility between different models.

- Complex SW with 3D model
- Online and offline programming
- Easy to view protocol
- Color map of deviations
- Free software updates
- All sensors in one software


